

Hi, this is John with this week’s Coding Challenge.
🙏 Thank you for being a subscriber, I’m honoured to have you as a reader. 🎉
If there is a Coding Challenge you’d like to see, please let me know by replying to this email📧
Coding Challenge #133 - Particle Playground
This challenge is to build your own particle playground: an interactive canvas where you paint materials and watch them behave. Sand will pile up. Water will flow and finds its level. Fire spreads and burns out. Fireworks launch, burst, and rain embers back down onto whatever you painted underneath.
Particle systems are the trick behind most of the physical-looking effects you see in games and creative coding: explosions, smoke, rain, magic spells, crumbling terrain. That’s where I first learned about them, creating computer graphics for simple games and firework simulators!
In this “particle system” we’re going to cover two different techniques. One is a swarm of free-flying objects pushed around by forces like gravity and wind. The other is a grid of cells updated by simple local rules, which is what lets thousands of grains of sand or drops of water run in real time without doing full physics on each one. In this challenge you’ll build both, then join them together: a firework whose burning embers can fall onto your material grid and set fire to anything flammable underneath.
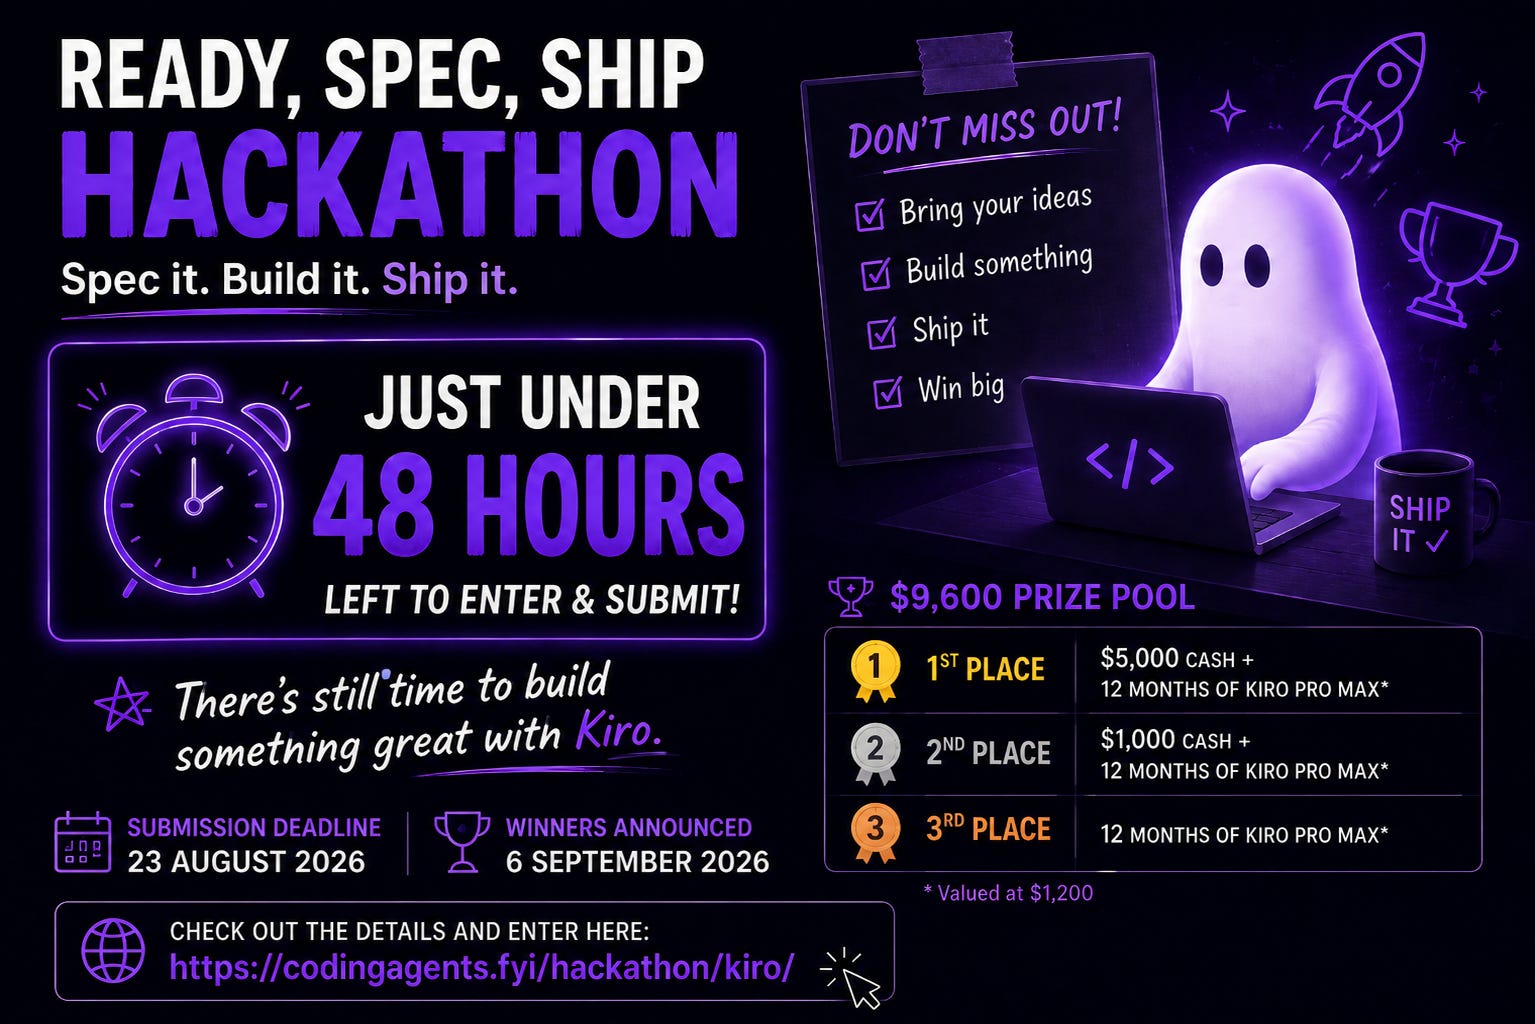
Win $$$ - Just 48 hours left! Join The Ready, Spec, Ship Hackathon Hackathon I’m Running.
There’s just under 48 hours left in the Ready, Spec, Ship Hackathon!
There’s a $9,600 prize pool, plus 2000 FREE Kiro credits for every verified entry. Submissions close on midnight on the 23rd August, with the winners announced on 6 September.
Find out more and take part:https://codingagents.fyi/hackathon/kiro/
It’s a great chance to checkout the Kiro agentic coding environment!
OK, on with the challenge!
The Challenge - Building Your Own Particle Playground
You’re going to build a 2D particle simulation with two engines working side by side. The first is a classic particle engine: particles with position, velocity, and acceleration, pushed around by gravity, wind, and drag. The second is a cellular automaton: a grid of cells, each holding a material, updated every tick by rules like “sand falls if the cell below is empty”. You’ll build up materials one at a time, add an interface for painting them onto the canvas, and finish with a fireworks display that reuses your particle engine and can set your grid alight.
You can build this in any programming language, so pick whatever you’re comfortable with for 2D graphics and mouse input.
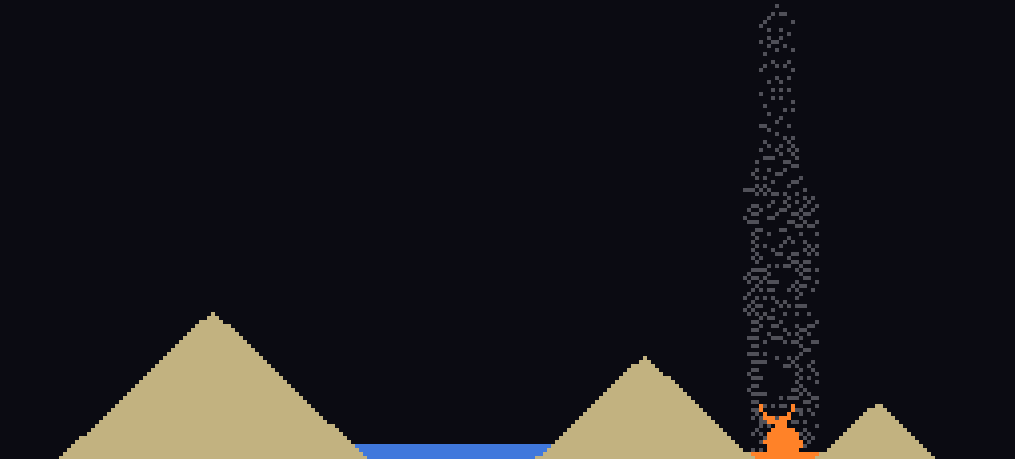
You’ll be making something like this:
Step Zero
In this introductory step you’re going to set your environment up ready to begin developing and testing your solution.
Choose a platform that gives you pixel-level 2D rendering and mouse input.
Before you start coding, it’s worth reading up on the two techniques you’re going to combine:
The Nature of Code, Chapter 4: Particle Systems covers the classic force-driven particle engine you’ll build in Steps 1 and 2.
Making Sandspiel and Falling Sand explain the cellular automaton approach you’ll build in Steps 3 to 5. You can also have a play with Sandspiel itself to get a feel for how the materials should behave.
Step 1
In this step your goal is to build a basic particle emitter.
Set up an empty window or canvas with a render loop that clears the screen and redraws every frame. Get it running at a steady frame rate before moving on.
Give each particle a position, a velocity, and an acceleration. On every frame, integrate acceleration into velocity and velocity into position, so particles move smoothly over time. When the user clicks or taps on the canvas, spawn one or more particles at that point. Render each particle as a circle, and have it fade out as it approaches the end of its lifespan. Once a particle’s lifespan expires (or it becomes fully transparent), remove it so your particle list doesn’t grow forever.
Testing: Click a few times in different spots on the canvas. You should see small circles appear at each click point, drift briefly, and fade to nothing over a second or two. Click rapidly in one spot and confirm old particles disappear rather than piling up forever, watch a particle counter to be sure they’re actually being removed.
Step 2
In this step your goal is to make your particles respond to forces.
Add a constant downward gravity force applied to every particle every frame, so they arc and fall instead of drifting in a straight line. Add an adjustable wind force, a constant horizontal acceleration you can tune, and a drag force proportional to each particle’s velocity, so particles slow down over time even with no gravity or wind acting on them. Finally, detect when a particle reaches the edges or floor of the canvas, and have it bounce, reflecting its velocity and losing some speed (damping) each time it bounces.
Testing: Click near the top of the canvas and watch particles fall under gravity rather than drifting evenly. Turn wind on and confirm particles curve sideways as they fall. Increase drag and confirm particles slow down and settle rather than bouncing forever. Drop particles onto the floor and count how many bounces it takes before a particle’s bounce height becomes negligible, it should be a handful, not dozens.
Step 3
In this step your goal is to add a second simulation substrate: a grid-based falling sand simulation.
Create a 2D grid of fixed-size cells, each holding a material type (start with just empty and sand). Implement the classic falling sand rule for sand: on each tick, a sand cell falls one cell straight down if the cell below is empty; if straight down is blocked but a diagonal (down-left or down-right) is free, it falls diagonally instead. Update the whole grid in a way that guarantees no cell is processed more than once per tick, for example by writing updates into a second buffer and swapping buffers at the end of the tick, or by scanning in an order that never lets an already-moved cell be revisited.
Testing: Programmatically fill a vertical line of sand cells near the top of an otherwise empty grid and run the simulation. You should see the sand fall and form a roughly triangular pile with a natural angle of repose, not a perfectly flat-topped column and not sand that clips through the floor.
Step 4
In this step your goal is to add liquids and a static solid to your material grid.
Add a water material that falls like sand but, when it can’t fall any further, spreads sideways into an empty neighbouring cell. Add an oil material that behaves like water but is less dense, when a falling oil cell would land on top of a water cell, it should displace upward through the water instead of settling below it, so oil ends up floating on water. Add a stone material that is immovable and blocks every other material from passing through or displacing it.
Testing: Fill a small pool of water and confirm it spreads out to find a level surface rather than staying in a pile like sand. Drop oil into a container of water and confirm it rises to the top over a few ticks. Build a stone wall across the middle of the grid and pour sand or water onto it, confirm nothing passes through or moves a stone cell.
Step 5
In this step your goal is to add fire, smoke, and steam.
Add a wood material that, like stone, doesn’t move, but is flammable. Add a fire material that ignites any flammable material (wood or oil) in an adjacent cell, and burns itself out to an empty cell after a fixed lifetime. Add a smoke material that spawns above burning cells, drifts upward, and dissipates back to empty over a fixed lifetime. Finally, when a water cell is adjacent to fire, convert it to steam; a steam cell should drift like smoke and convert back to water once it’s gone a fixed amount of time without contacting more fire.
Testing: Build a small wood structure and light one cell of it on fire. Confirm the fire spreads across connected wood cells, each burning out to empty after a few seconds, and that smoke rises from the burning area and fades away rather than accumulating forever. Pour water next to a fire and confirm it turns to steam, drifts upward, and eventually turns back into water once it’s away from the flames.
Step 6
In this step your goal is to make the simulation interactive.
Add a palette letting the user pick the current material to paint, at minimum sand, water, oil, stone, wood, and fire. Add an adjustable brush size, so pressing and dragging the mouse or pointer paints a filled circle of cells of that size in the selected material. Add a button to clear the entire grid back to empty, and a way to pause and resume the simulation without losing the current grid state.
Testing: Select each material in turn and paint a patch of it onto the grid, confirm the right material appears and behaves correctly (sand falls, water spreads, fire spreads and burns out). Increase and decrease the brush size and confirm the painted area scales accordingly. Pause the simulation mid-fall, confirm nothing moves while paused, then resume and confirm it continues from where it left off. Clear the grid and confirm every cell returns to empty.
Step 7
In this step your goal is to build a fireworks display on top of your particle engine. Building fireworks with particles was where I first used them. It was a fun introduction to computer graphics.
When the user clicks a launch point, spawn a rocket using the particle engine and forces you built in Steps 1 and 2, and let the user control how high it goes before exploding, for example with a power slider, or by how far they drag before releasing the click. On explosion, spawn a burst of ember particles following a pattern the user can select. Implement at least four of the classic firework styles described in this overview of firework particle styles:
Ring / sphere: embers spread out evenly in all directions.
Willow: embers have extra drag and gravity, so they trail and droop as they fall, rather than flying outward and vanishing.
Crossette: each ember splits into a small secondary burst partway through its life.
Strobe: embers flicker between visible and invisible as they age.
Let embers fall under gravity after the burst, just like any other particle. When an ember from a low-height burst lands on your material grid, check the cell underneath it, if it holds a flammable material, ignite it, so a firework that bursts close to the ground can set fire to anything flammable you’ve painted there.
Testing: Launch a firework at maximum height and confirm it explodes and spawns embers in your selected pattern, ring embers should spread evenly, willow embers should droop and trail, crossette embers should each produce a smaller secondary burst, and strobe embers should visibly flicker. Launch a low-height firework directly over a patch of wood or oil you’ve painted on the grid, and confirm falling embers ignite it. Launch a low-height firework over sand or stone and confirm nothing ignites.
Step 8
In this step your goal is to make the simulation perform well as particle and cell counts grow.
Decouple your simulation update from your render frame rate by running updates on a fixed timestep, this keeps the simulation speed consistent even if the display refresh rate varies. Cap the number of live particles, or reuse a pool of particle objects, so dense emitters and big fireworks don’t collapse your frame rate. Update your material grid so that, once it’s reasonably large, you only process cells that changed or were active on the previous tick, rather than scanning every cell every tick. Add an on-screen readout showing frames per second, the current live particle count, and the current active grid cell count.
Testing: Fill a large grid (at least a few hundred cells wide) with a mix of falling sand and water and confirm the readout shows a healthy frame rate once most of it has settled and few cells are still active. Launch several fireworks in quick succession and confirm your particle count readout stays capped rather than climbing indefinitely, and that the frame rate holds up. Compare frame rate with and without your active-cell optimisation on a mostly-settled grid to confirm it’s actually helping.
Going Further
Once you have the core playground working, here are some ideas to take it further:
Add more materials: acid that dissolves what it touches, plant seeds that grow when watered, ice that forms from water in a cold region and melts back
Add a save/load feature that serialises the grid and lets users share or reload a scene
Let the user resize the brush with a scroll wheel or pinch gesture, and add an eraser tool
Add a “wind zone” the user can draw that applies extra wind force to particles and embers passing through it
Support multiple simultaneous fireworks with different colours, and let the user pick a colour per launch
Render the grid with a lighting pass, so fire and embers cast a warm glow on nearby cells
Port the grid simulation to run on the GPU (for example with a fragment shader or compute shader) so you can push the grid size and particle count much higher
Add sound effects that react to events: a crackle for fire, a whoosh for launch, a boom for each firework burst
Share Your Solutions!
If you think your solution is an example other developers can learn from please share it, put it on GitHub, GitLab or elsewhere. Then let me know via Bluesky or LinkedIn or just post about it there and tag me. Alternately please add a link to it in the Coding Challenges Shared Solutions Github repo
Request for Feedback
I’m writing these challenges to help you develop your skills as a software engineer based on how I’ve approached my own personal learning and development. What works for me, might not be the best way for you - so if you have suggestions for how I can make these challenges more useful to you and others, please get in touch and let me know. All feedback is greatly appreciated.
You can reach me on Bluesky, LinkedIn or through SubStack
Thanks and happy coding!
John
Hurray 🎉